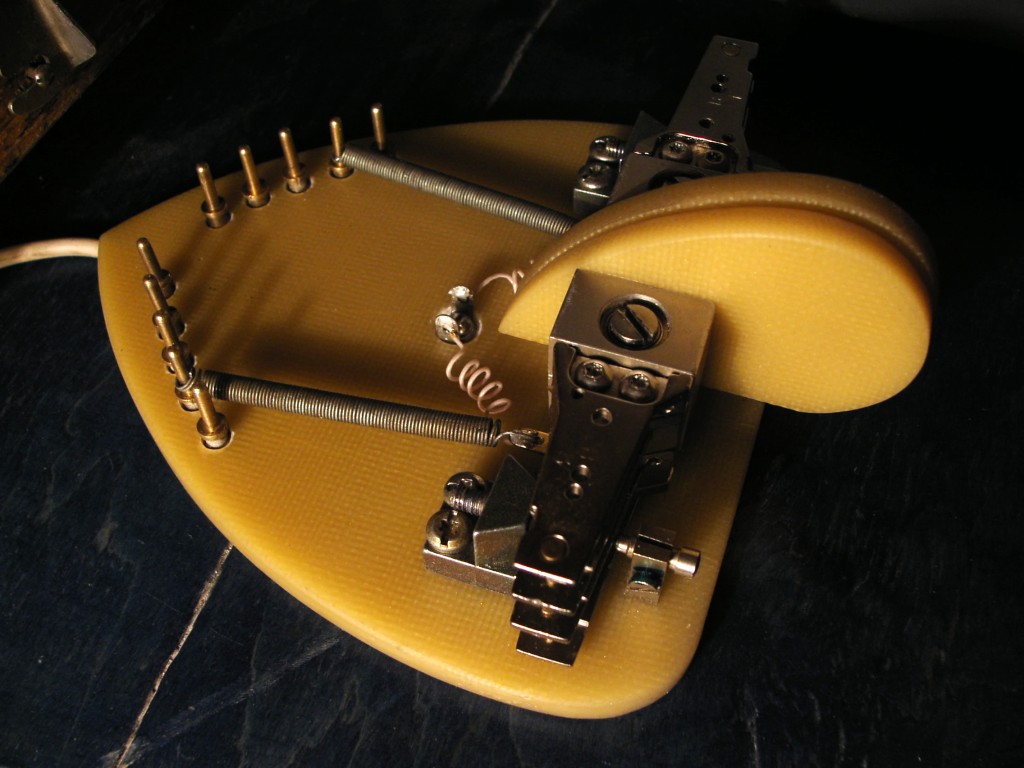
 Just finished my first in life "Instructable" at the D.I.Y. host site instructables. It is short sketch about Iambic Paddle which has been made using a spare parts from the dead MFM HDD drive. I got a lot of fun posting to that site, and I think that it should be good idea to post more detailed article here. Frankly, this homebrew project is not a Pure Glowing Bug, but I'm not so puristic today.
Well, let me explain - why I decided to use HDD heads as a levers in this Iambic Paddle Project. For many years I've collected computer spare parts for no reason, just because I have a big, nearly endless Junk Box and it was impossible to me to throw such high-tech toys in the trash. But one morning I found that my Junk Box is full and The Time of Trash Bags has come. It was a hard work, but under the tons of debris I found the treasure - my first homemade Z80 Sinclair Spectrum and five old 5 inch MFM hard drives from my second computer.
As you remember, these drives was a big rounded shaped boxes, ideal as a chassis for any homemade electronic projects, tube glowbugs as well as solid state stuff. Another interesting things - powerful electromotor and magnetic cylinders itself, thick shiny discs which are so usable as a dial or scale part, looked much better than a CD in this role. And last but not least - yes, precision bearings on the easy to mount axis in magnetic head's block. What a beautiful hardware! When I opened and totally disassembled these hard drives, I realized that I literally had a very new telegraph key, usual one lever, dual lever iambic paddle or even straight key - not so important, it is easy to make any kind of telegraph manipulator using these nice spare parts. Watch this video demonstrating a working Iambic Paddle and take a look at step by step constructing process here:
step 1: Extracting Heads from Dead Drives

step 2: Cut off fag end

step 3: Breadboarding and making the plastic base.


step 4: Assembly and assembled views


1 comment :
Great design ... and I can see you spent lots of time on it. Thanks for posting.
Post a Comment